Hugo搭建个人博客(1):hello hugo
Hugo
Github: https://github.com/gohugoio/hugo
官方:https://gohugo.io/
QuickStart:https://gohugo.io/getting-started/quick-start/#other-resources
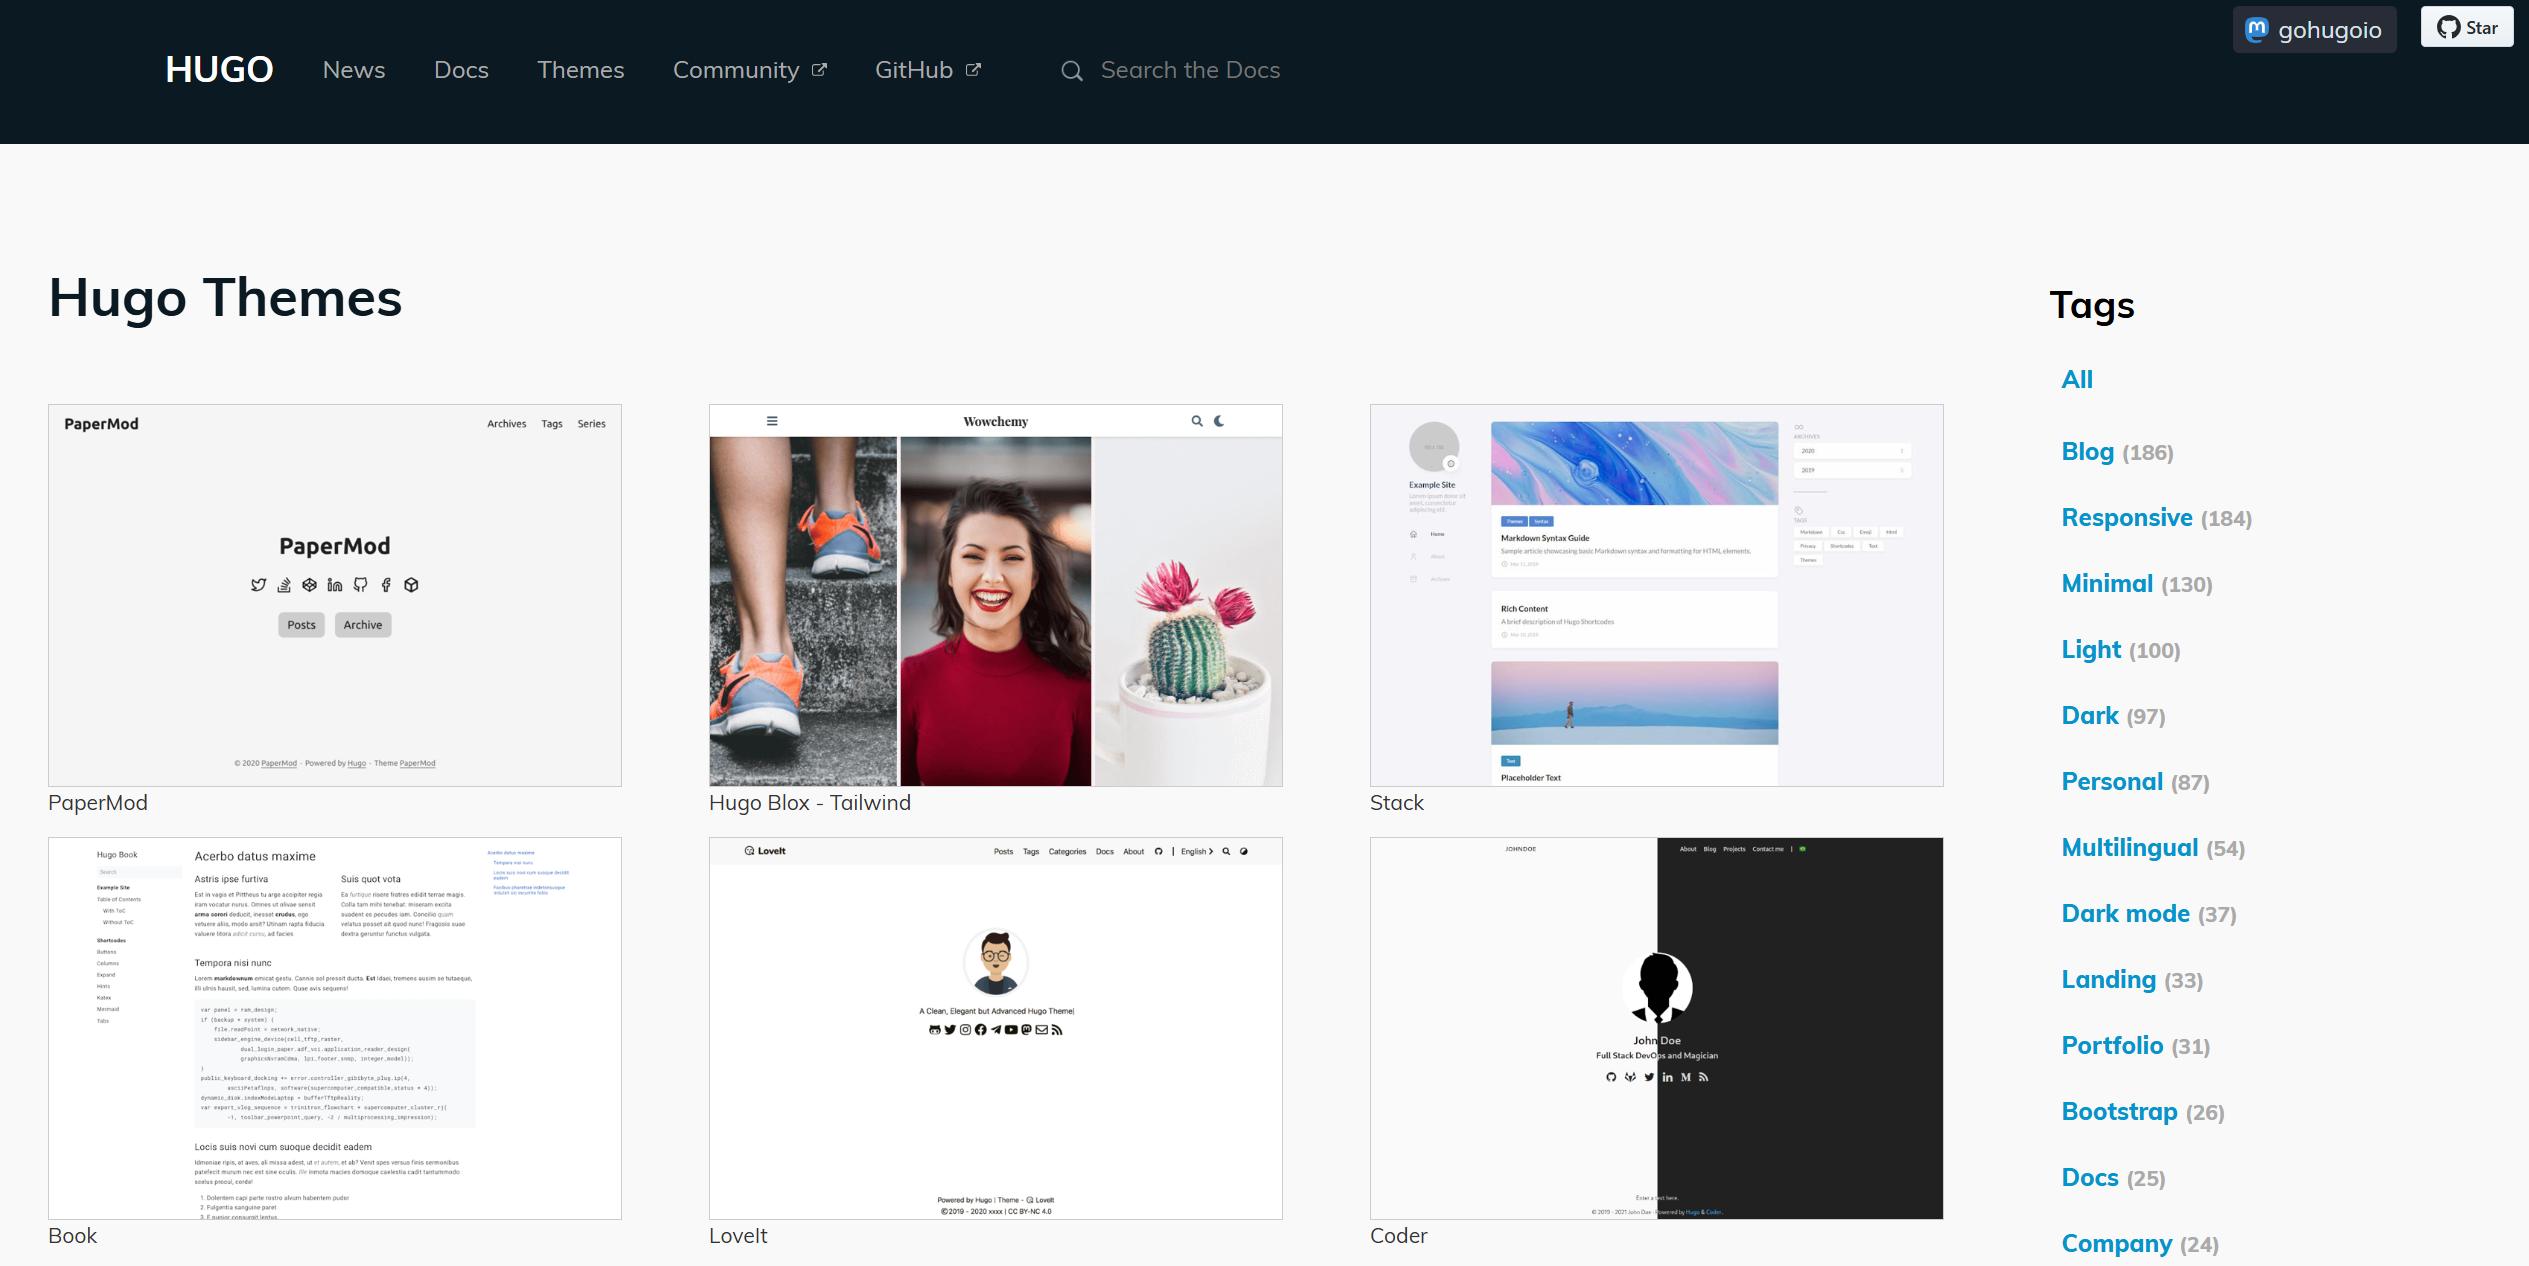
主题:https://themes.gohugo.io/
Hugo 是一个使用 Go 语言开发的静态网站生成器。
安装
选择主题
选择一个自己的喜欢的主题,点击下载,就会进入主题的 github 界面。
安装
# 安装hugo
sudo apt install hugo -y

# 查看版本
hugo version
配置主题
安装主题
# 创建一个新的Hugo站点
hugo new site my-site
cd my-site
git init

# 安装主题
git submodule add https://github.com/nanxiaobei/hugo-paper themes/hugo-paper
初始配置
cd my-site
echo "theme = 'hugo-paper'" >> hugo.toml
echo "theme = 'hugo-paper'" >> config.toml
修改 config.toml 的 baseURL
baseURL = 'http://127.0.0.1:1313/'
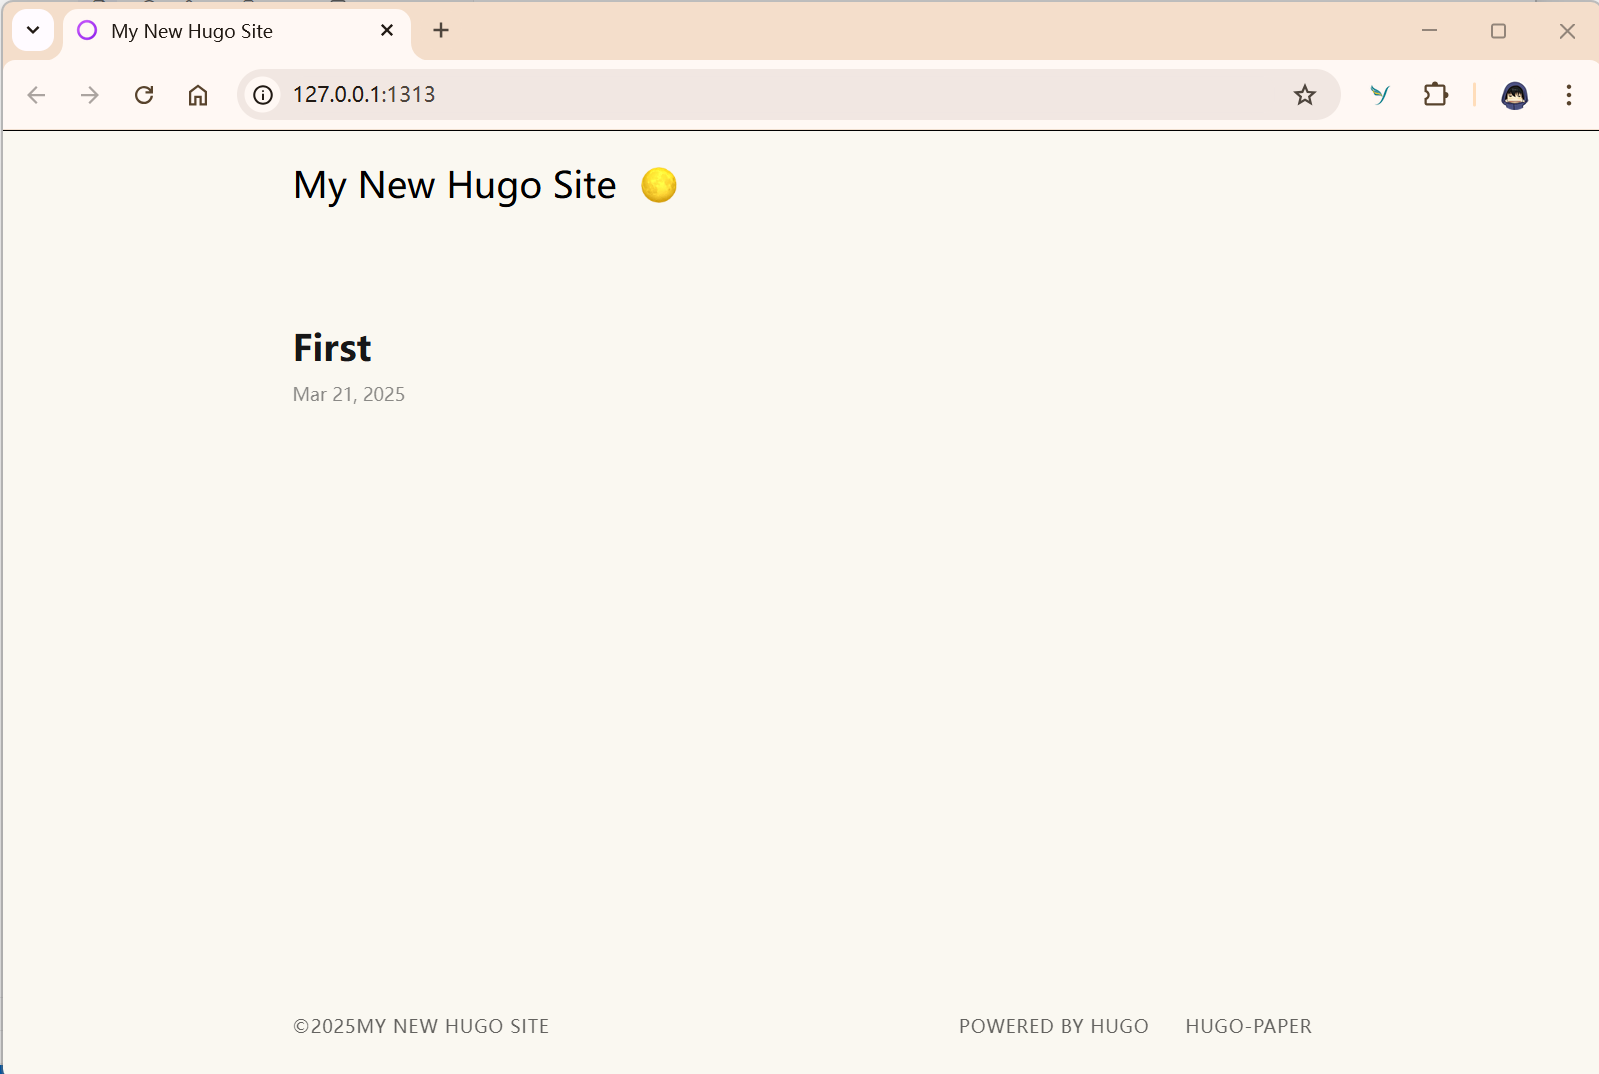
启动 hugo 服务
# 启动hugo服务
hugo server

# (后台启动)启动hugo服务
nohup hugo server --bind 0.0.0.0 --port 1313 -D --watch > mysite.log 2>&1 &
访问服务
Hugo 主题目录结构分析
ubuntu@VM-0-17-ubuntu:~/my-site$ ls
archetypes  config.toml  content  data  hugo.toml  layouts  mysite.log  resources  static  themes
Hugo 主题目录包含以下主要文件和文件夹:
my-site/
├── archetypes/         # 存放内容模板文件,使用`hugo new`创建内容时会使用,默认包含default.md模板
│   └── default.md
├── assets/             # 存放全局资源文件,如图片、CSS、Sass、JavaScript等,通常通过资源管道处理
├── config/             # 存放站点配置文件,可包含多个子目录和文件
│   └── _default/
│       └── hugo.toml   # 新版Hugo的配置文件,使用TOML格式编写,包含站点全局配置
├── content/            # 存放所有内容文件(Markdown格式),每个Markdown文件对应一个页面,目录结构决定URL结构
├── data/               # 存放数据文件(JSON/TOML/YAML/XML格式),用于增强内容、配置、本地化和导航
├── i18n/               # 存放多语言站点的翻译表
├── layouts/            # 存放自定义模板文件,包含HTML模板和部分模板,可覆盖主题默认模板
├── public/             # 构建站点时生成,包含最终发布的网站内容
├── resources/          # 构建站点时生成,包含Hugo资源管道的缓存输出(如CSS和图片)
├── static/             # 存放静态文件(如图片、CSS、JavaScript等),构建时会直接复制到public目录
└── themes/             # 存放主题文件,每个主题是一个子目录,包含主题的模板和静态资源
简单使用
使用模板创建博客
(base) ubuntu@VM-0-17-ubuntu:~/my-site$ hugo new blog/first.md
Content "/home/ubuntu/my-site/content/blog/first.md" created
创建的文件 first.md 会在~/my-site/content/blog 目录下。first.md 会使用 config.toml 的模板。
把现成的 markdown 文档直接放到 content/blog 下
把现成的 xxx.md 的文件放到 content/blog 下,就可以通过 url 直接访问了。
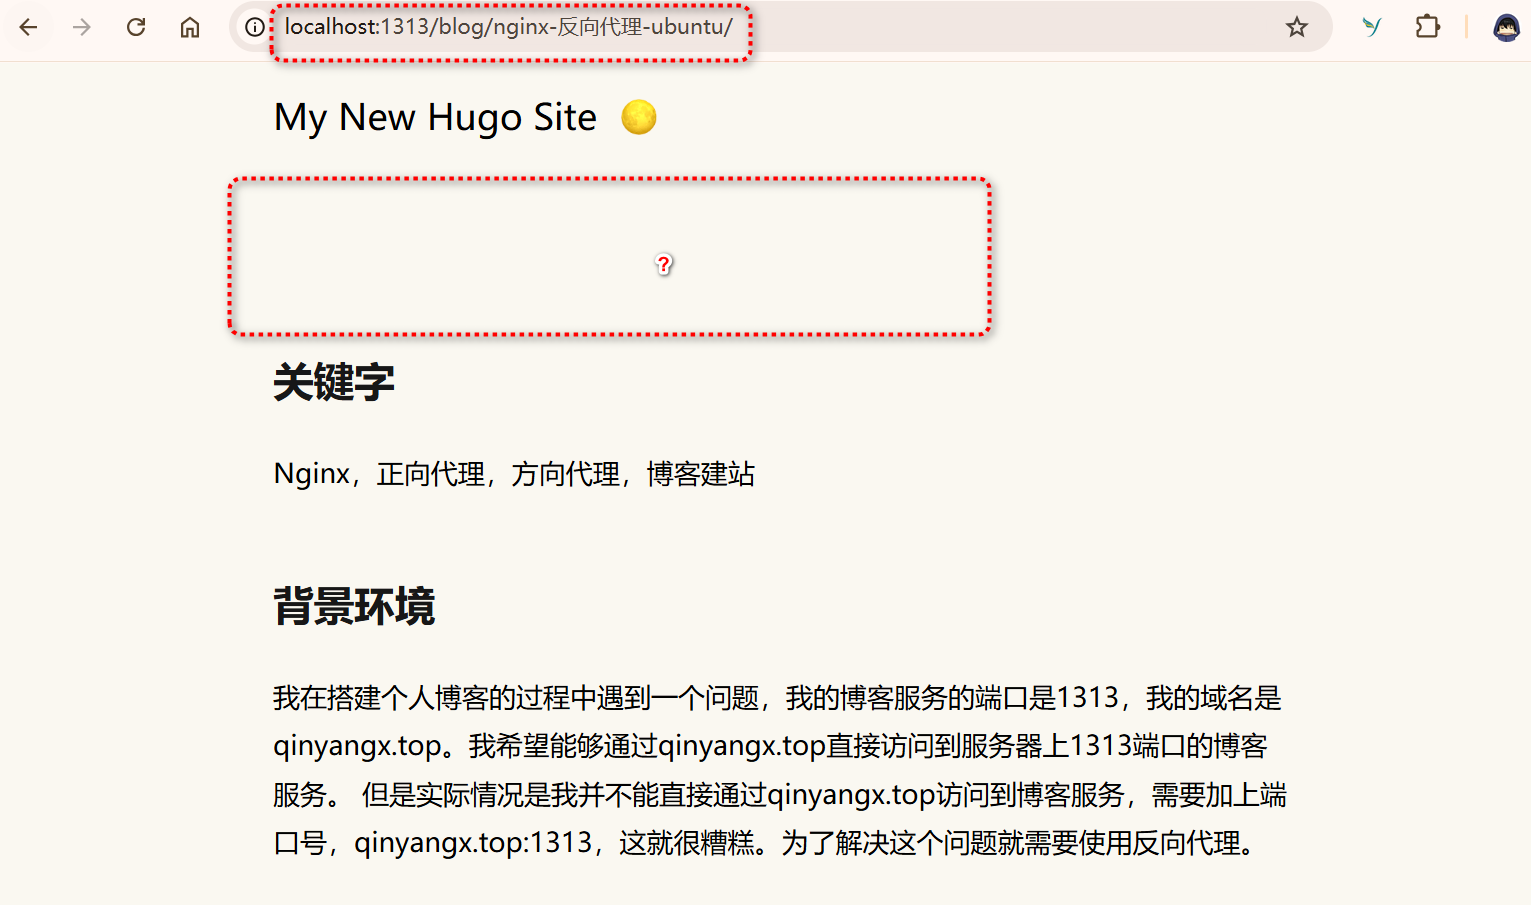
但是发现一个有问题,标题没了。我仔细看了下,发现结果因为我没有在 xxx.md 中定义一级标题,加上一级标题就正常了。
但是返回首页,又发现了新的问题,首页 xxx.md 的标题没有显示。
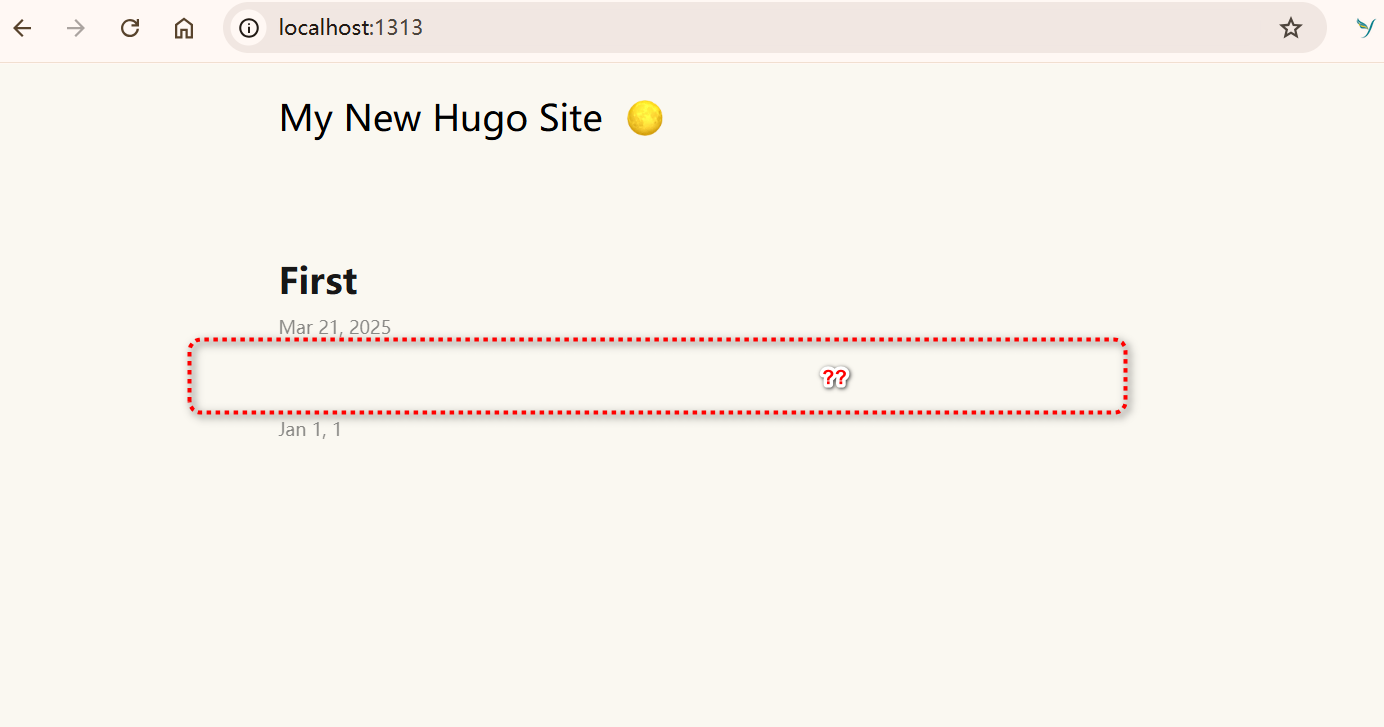
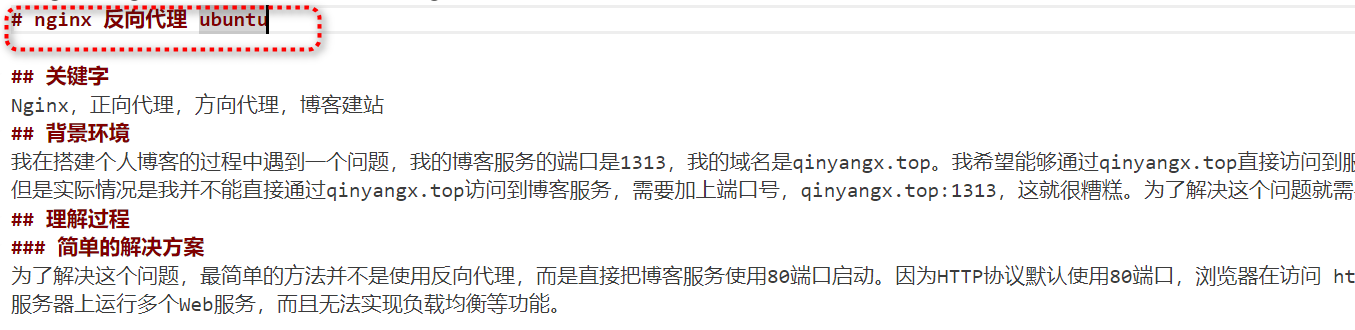
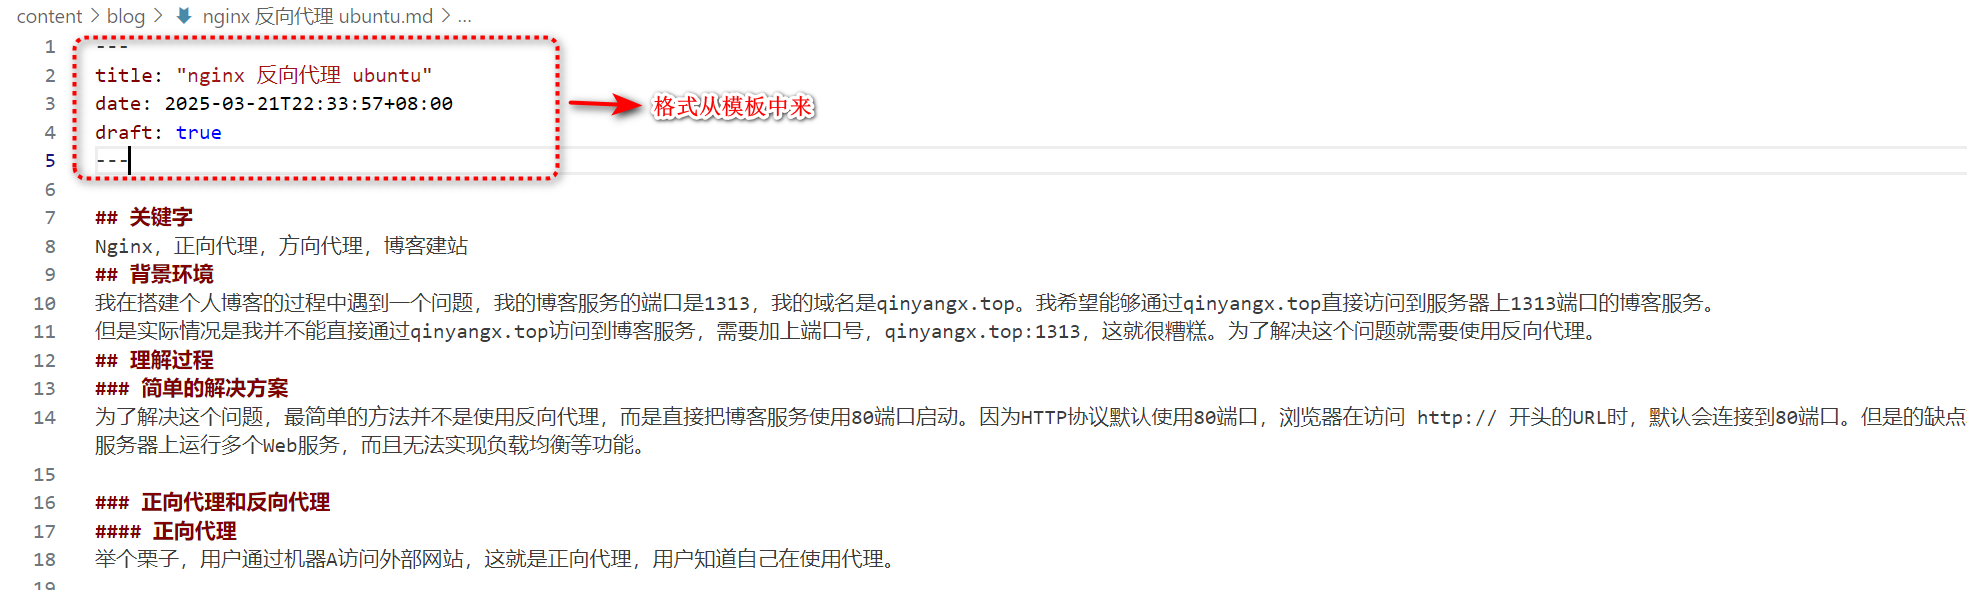
如何解决?在 xxx.md 中,添加 archetypes/default.md 模板中的头信息。因为直接使用 hugo new 创建的文档,会自动带上头信息。
 这样,不管首页还是,文章中标题都有了,即使没有在添加一级标题。
** 最佳实践:通过 hugo new 生成 blog,然后把已经写好的 xxx.md 拷贝进去。因为这样可以生成当前时间等。
配置
通过 hugo config,查看当前配置。 hugo 配置说明文档:https://gohugo.io/configuration/all/
参考配置,除了公共配置以为,个性化配置是和主题相关的,需要从主题对应的 github 上去找,以下配置我只修改了一些简单的配置:
baseURL = 'http://qinyangx.top/'
languageCode = 'zh-cn'
title = 'Why Not Today?'
theme = 'hugo-paper'
languageCode = "zh"  # 网站语言代码
defaultContentLanguage = "zh"

# 菜单
[[menu.main]]
  name = "文章"
  url = "/blog/"
  weight = 1

[[menu.main]]
  name = "归档"
  url = "/archive/"
  weight = 2

  # 用来集成 Disqus 评论系统
  # [services]
  # [services.disqus]
  #   shortname = 'YOUR_DISQUS_SHORTNAME'     # use disqus comments

[params]
  # color style
  color = 'linen'                           # linen, wheat, gray, light

  # header social icons
  # twitter = 'YOUR_TWITTER_ID'               # twitter.com/YOUR_TWITTER_ID
  # tgithub = 'YOUR_GITHUB_ID'                 # github.com/YOUR_GITHUB_ID
  # instagram = 'YOUR_INSTAGRAM_ID'           # instagram.com/YOUR_INSTAGRAM_ID
  # linkedin = 'YOUR_LINKEDIN_ID'             # linkedin.com/in/YOUR_LINKEDIN_ID
  # mastodon = 'YOUR_MASTODON_LINK'           # e.g. 'https://mastodon.instance/@xxx'
  # threads = '@YOUR_THREADS_ID'              # threads.net/@YOUR_THREADS_ID
  # bluesky = 'YOUR_BLUESKY_ID'               # https://bsky.app/profile/YOUR_BLUESKY_ID
  # rss = true                                # show rss icon

  # home page profile
  avatar = 'http://qinyangx.top/imgs/logo_sun.png'                 # gravatar email or image url
  name = 'Qinyang'
  bio = '水滴石穿,每天进步一点点。'

  # misc
  disableHLJS = true                        # disable highlight.js
  disablePostNavigation = false              # disable post navigation 禁用文章导航(上一篇/下一篇)
  monoDarkIcon = true                       # show monochrome dark mode icon
  # gravatarCdn = 'GRAVATAR_CDN_LINK'         # e.g. 'https://cdn.v2ex.com/gravatar/'
  math = true                               # enable KaTeX math typesetting globally
  # localKatex = false                        # use local KaTeX js/css instead of CDN
  # graphCommentId = "YOUR_GRAPH_COMMENT_ID"  # use graph comment (disqus alternative)
  favicon = "imgs/logo_sun.png"           # customize the default favicon
  # appleTouchIcon = "apple-touch-icon.png"   # customize the default Apple touch icon

  # RTL supprot
  # direction = "rtl"                         # RTL support for Right-to-left languages 将整个网站的文本方向改为从右到左排列。

  # giscus 借助github实现的评价系统
# [params.giscus]
#   repo = 'YOUR_GISCUS_REPO'                 # see https://giscus.app for more details
#   repoId = 'YOUR_GISCUS_REPO_ID'
#   category = 'YOUR__GISCUS_CATEGORY'
#   categoryId = 'YOUR_GISCUS_CATEGORY_ID'
#   mapping = 'pathname'
#   theme = 'light'
#   lang = 'zh-CN'
配置中出现了 Gravatar,之前并没有接触过 Gravatar。 Gravatar 是一个全球通用的头像服务(Globally Recognized Avatar)。它的工作原理是:
- 用户使用邮箱在 Gravatar 注册并上传头像。
- 当用户在其他支持 Gravatar 的网站评论或注册时。
- 网站会通过用户的邮箱地址自动获取对应的 Gravatar 头像。 Gravatar 的好处是可以在多个网站使用同一个头像,保持一致性。如果你还没有 Gravatar 账号,可以到 gravatar.com 注册一个。